Hi, I'm working on my Dagger C-14 and about 2/3 of the starboard side of the rub rail has separated...I opened it up a bit to let it dry and clean..now just need to seal it back together...what's the best approach to do this?
Here is a picture from the top...doesn't really show the whole problem but gives you an idea of how the top and bottom are coming apart. My thought was to seal/glue/epoxy the seam, and then address the cracked part you can see in the middle...
This is my first attempt at fiberglass work so please take that into consideration!
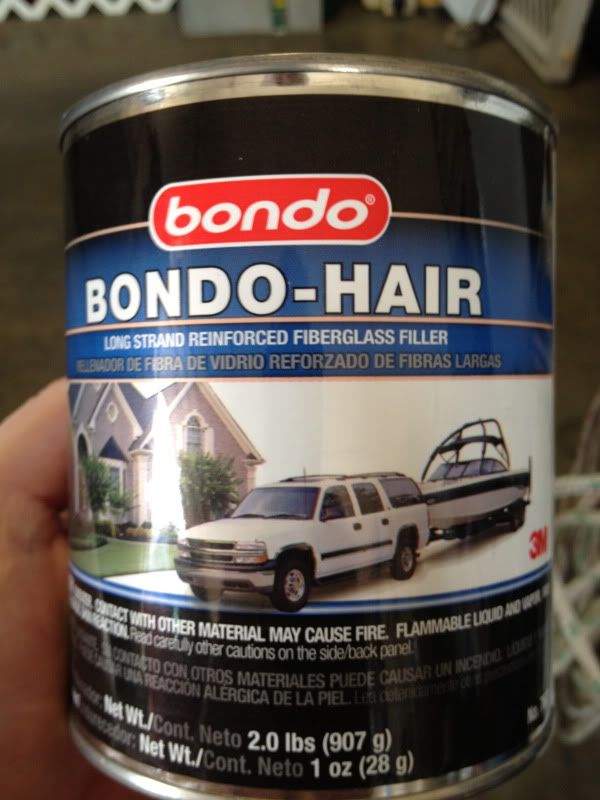
I'd probobly try to glue it back down with resin like you would use for fiberglass work, but with either stranded or chopped filler in it for strength. You could use the green stuff I used to fill my keel pocket hole with:
It is resin with strand glass in it, sets up quick depending on temp and how much hardener you use. Resin requiers a certain amount of hardener, mix it per direction based on temp, but you want it to harden slowly if you are new to glasswork. Buy a box of disposible gloves from Harbor Freight, and wide masking tape to keep the green resin off the glass you don't want to be green. Pry the parts apart and allow to dry, tilt that side of the boat up to get gravity to help you. Mix a small batch and use a tounge depressor to work the resin/filler into the gap, then release it and clamp it down to force it deep, and the excess out. Wipe it up before it hardens. This stuff sets up rock hard. a little clean up when done, and maybe 2 layers of glass along the side to give it a rail agaon, then sand and paint to protect it.
N41EF wrote:
It is resin with strand glass in it, sets up quick depending on temp and how much hardener you use. Resin requiers a certain amount of hardener, mix it per direction based on temp, but you want it to harden slowly if you are new to glasswork. <snip> Mix a small batch and use a tounge depressor to work the resin/filler into the gap, then release it and clamp it down to force it deep, and the excess out. .
Thanks for the tips...Followup: The area to be re-sealed is about 6 feet long...I won't be able to mix a small batch in time and seal it I don't think...Any thoughts on doing this big of a job? Or am I just being paranoid?
Maybe a little of both. If you mix it for slow setting you'll have 20-30 minutes to get it done. Better to mix 4 small batches than one huge one, and have it cook off and harden as you stir it.
Large batch issue is an airplane thing, most of us have donw one, mix too big of batch, start stirring, and then it gets hot, foams, and expands and will burn your hand if you don't throw it away. The green stuff with glass is easier, but I cooked off a small batch stirring, small batch and work quick.
For those who don't understand the heat thing, epoxy resin has an exothermic reaction, as it cures, it generates heat. The more hardener you use the faster it hardens the more heat. Adding heat makes it speed up even more. It makes a huge lumps hot mess.
If you have a seem 6 feet long it may only take a lump maybe the size of a tennis ball? But I'd mix it in three or four batches.
3M Makes a product 3815 it is expencive but it works . 45 min. work time 24 hr cure. I use it all the time.
I would use this to fix your problem with the deck coming loose. It will hold if it is clean . Try to sand the joining surfaces best you can.
8223 3M will work also but you have maybe 5 min work time to put it in spread it and clamp it. But in about an hour and a half or less you are ready to go.
I had a Chrysler Dagger MANY moons ago. The think always leaked water into the inner hull. I found that the stresses of my sailing style added to storing it on its side continously stressed the seem between the hull and deck. Thus, the unsinkable Dagger could be sunk! LOL! Ask me how I know!
Eventually I tired of draining the hull everytime I was out for even an hour and opted for the following fix.
I very diligently marked off the center of the folded over seam and put an "x" every inch. I then drilled and through bolted with stainless nuts, bolts and lock washers.
This solved the flexing issue and the continuous leak.
Scott
Something to keep in mind working with fiberglass is polyester resin (common Fiberglass resin you find in the automotive shops) has a very weak bond to cured fiberglass structures. Therefore one should use an epoxy resin when doing these types of repairs. The epoxy takes longer to cure, but on the other hand it offers a lot longer working time, so large repairs can be undertaken without the rush of fast cure polyester resin. Make sure you scuff up the area to be repaired to the point of removing the gelcoat ( the layer with color) because epoxy will not well bond to gelcoat.
Sounds complicated but in fact is very easy to work with once you get going. Just go on line and do a little research and you will find alot of good info.
1977 Chrysler 22
Ground to windward is dearly bought, but easly spent.