I originally was going to just repair the rotten cockpit sole but I have a nasty habit of not sleeping when I know something is not done right.
I poked around a little more because I wanted to know how water was getting into my bilge over and over...but I poked a little too much I think.
Here is a look at the rotten floor and rotten walls of the keel house.
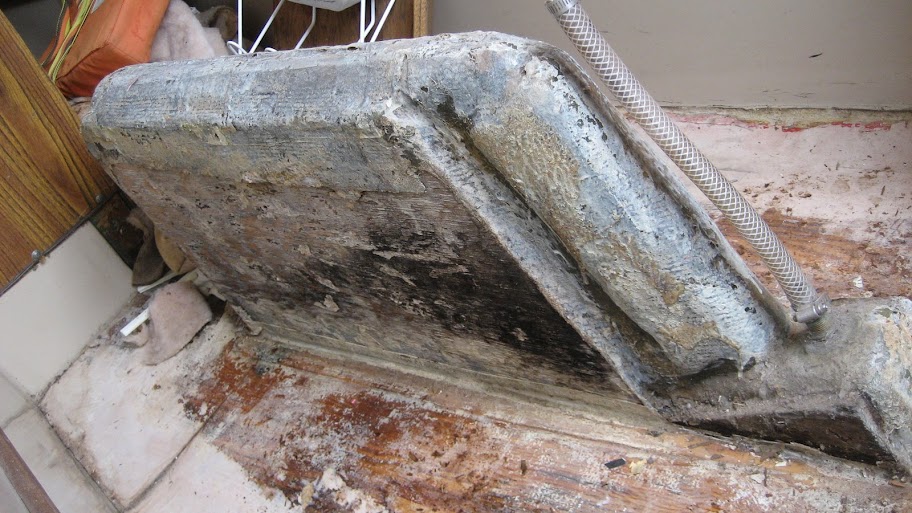
the walls are made of 3/4 inch fir and are 100% completely soaking wet. I have no idea how. I do know however, that for some reason there is lots of wood in this boat that is simply glassed only 10% and another 90% is left to the elements.
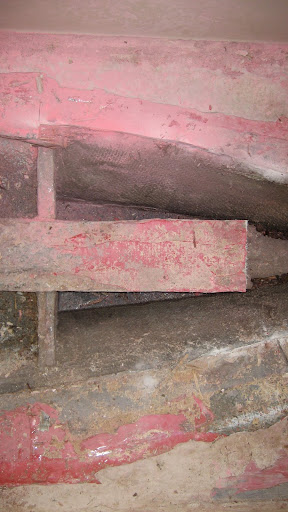
Here is an image of the floor removed and hundreds of pounds of lead shot.

The lead shot is barricaded in by stops so it doesn't spill into the bilge
My dilema now, is how to properly rebuild the floor, and I was hoping for some opinions.
I was thinking of covering the lead shot with some concrete then covering that with another wood floor. The concrete would add some ballast and give the floor something to rest on. The previous floor left a 1 inch gap of air. I could see the gap of air being good for circulation but to be honest nothing in these boats get much air circulation so I don't think it would matter.
One last problem.
When I lifted the floor the bilge was full of water. I have found screw holes going right into the keel house which could account for the rotten wood but I can't see that filling a bilge. Especially not when the bilge stops filing while at anchor.
Short of putting her back in the water does anyone have an idea how I could test for leaks. I already filled the boat as much as I could with a hose but didn't find anything.
Hey has anyone seen windward around I would like to see some pics of his newly built chainplates, or anyone elses, since I'm going to rebuild those soon too.
Thanks,
Adam