Page 1 of 1
Sailboat Renovation Pictures
Posted: Sun Aug 30, 2009 6:07 pm
by amayotte
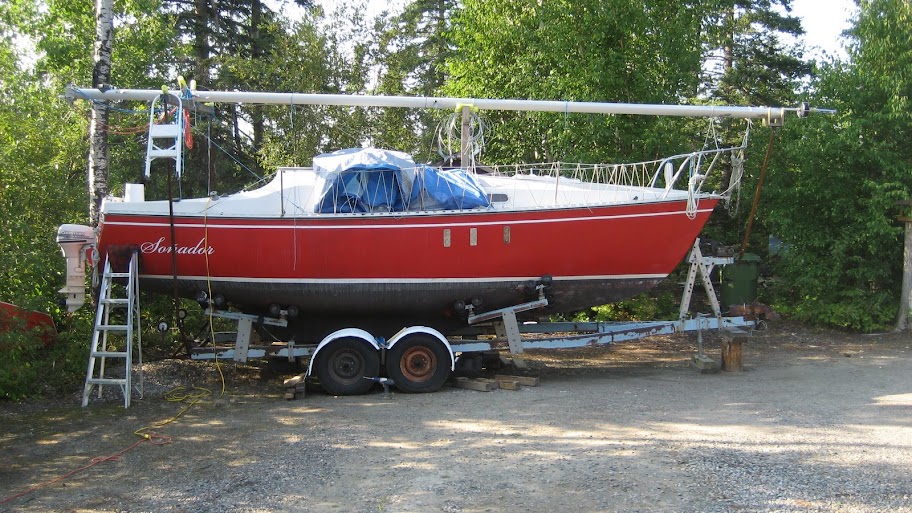
Here are some more pics of what has been done this summer.
NEW CHAINPLATES:
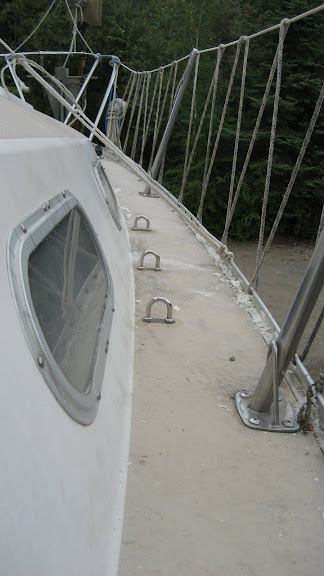
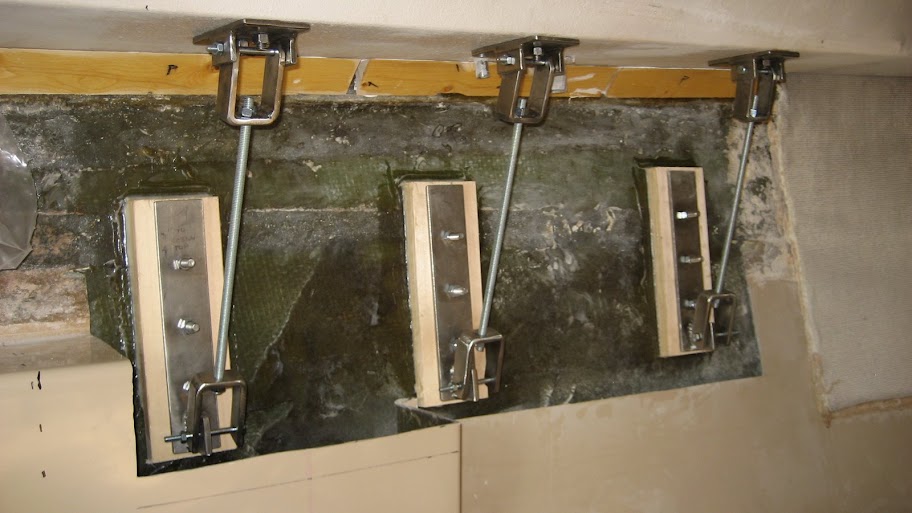
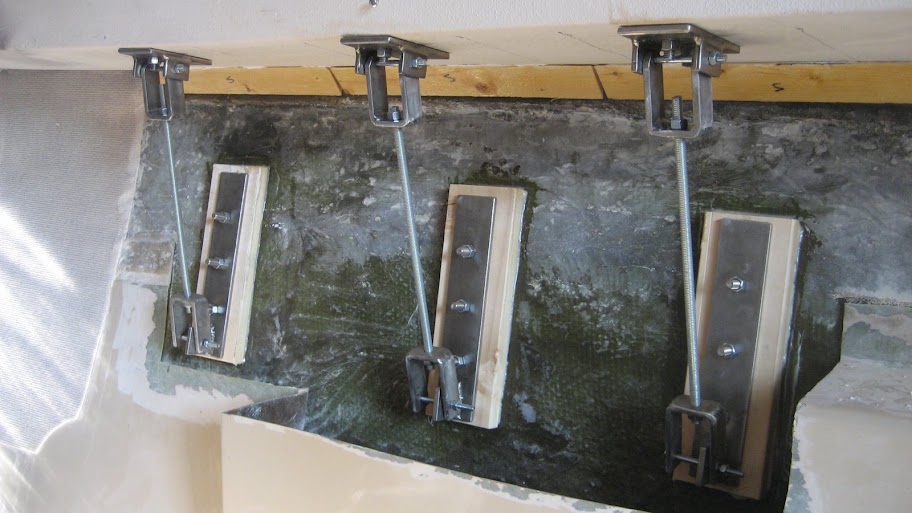
( I have mushroom head bolts coming which will look a little cleaner)
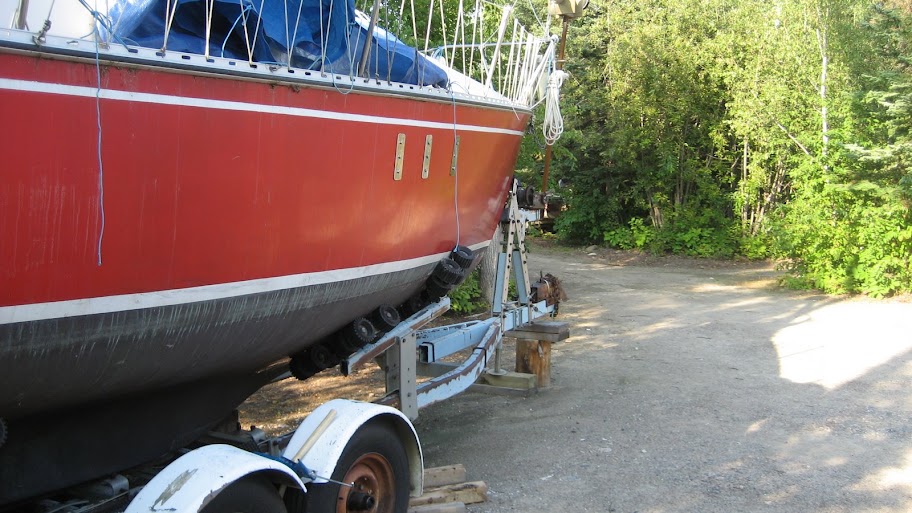
NEW FLOOR:
I added an extra 150 or 200 pounds of concrete to hold in the lead shot and create a smooth surface for the new floor.
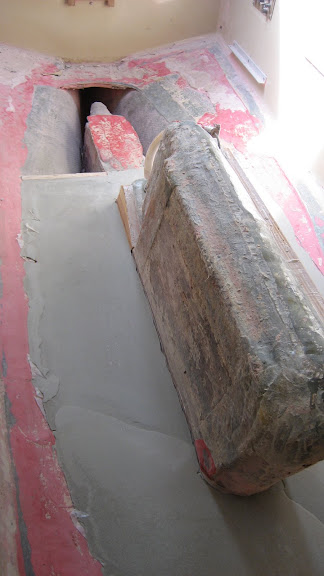
I have to finish glassing all the seems and building the bilge area.
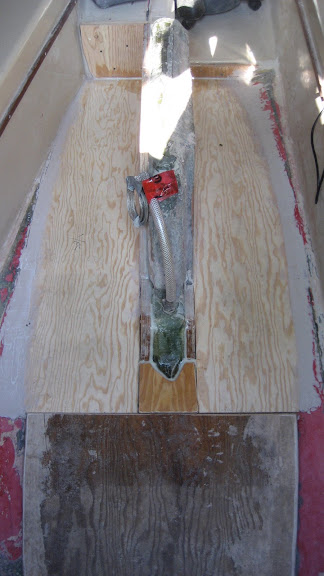
NEW RUDDER TUBE:
(I have to finish glassing it into place, building new bushings and install new shoal draft rudder)


I ripped out the collar that was there because it would collect water and was part of the reason my floor was rotten

Posted: Sun Aug 30, 2009 7:05 pm
by Alanhod
Looking good,
I think 4 of the photo's links are broken. I can't see photo's 2 through 6 and I love to see what you have done.
Thanks
Alan
Posted: Mon Aug 31, 2009 4:07 am
by EmergencyExit
Nice !
As comprehensive a job as you're doing, you probably did this already - On the New Floor pic, if you haven't installed the bilge area cover yet, I'd recommend you glass the bottom of that plate to keep the rot from happening again.
Oh, and if you haven't cut that plate yet, are you ever going to have fun matching the varying angles of the sides so it mates up good with the hull ! I became really close friends with a wood plane when I did EE's

Good idea on that collar in the rear lazarette ! Mine does the same, but leaks down the rubber hose into the stern berth area, then into the bilge - and I think I'll follow your lead on that, thanks !
Posted: Mon Aug 31, 2009 5:08 am
by NYCSAILOR
great pics, yes would love to see all of them too!
what did you use ( stock pipe?) to make up that rudder post to replace our heater hose set-up) and how was that installed?
wow, those are real chainplates... did you consider glassing in a reinforcing peice inside the hull and attaching to that before going through the hull?
Posted: Mon Aug 31, 2009 6:13 am
by amayotte
I don't know why they don't work. Something must be wrong with this server.
If you right click on the image and select copy location then put that into a new web browser window it will load.
I thought about simply glassing the new chainplates to the hull but I got lots of previous instructions from people here that it would be stronger to go through the hull. It is also a lot less work to simply go through the hull where I live. Hope I made the right decision.
I also hope it doesn't look ugly???
The new rudder tube is a 1/4" thick Fiberglass tube. 2" i.d. and 2.5" o.d. and 36" long. It will be cut to size later.
If you want to see all pics go to:
http://picasaweb.google.com/adam.mayotte/Renovations#
Adam
Posted: Mon Aug 31, 2009 6:31 am
by EmergencyExit
I'll try to edit/fix it when I get a chance, sometimes the board is a bit fussy with the toggling image tags.
Posted: Mon Aug 31, 2009 6:37 am
by CaptainScott
WOW!
Now that is some serious work!!
Looks good!
Scott
Posted: Mon Aug 31, 2009 6:51 am
by EmergencyExit
All better
Posted: Mon Aug 31, 2009 7:13 am
by Alanhod
Posted: Mon Aug 31, 2009 7:19 am
by ronc98
Very impressive work. I love how you tied the chain plates into the hull. Keep us up to date on how they workout over time.
Posted: Mon Aug 31, 2009 10:20 am
by amayotte
Thanks a lot. I really have no idea what I'm doing so I hope it works. I can't believe how much time it takes to do this stuff too.