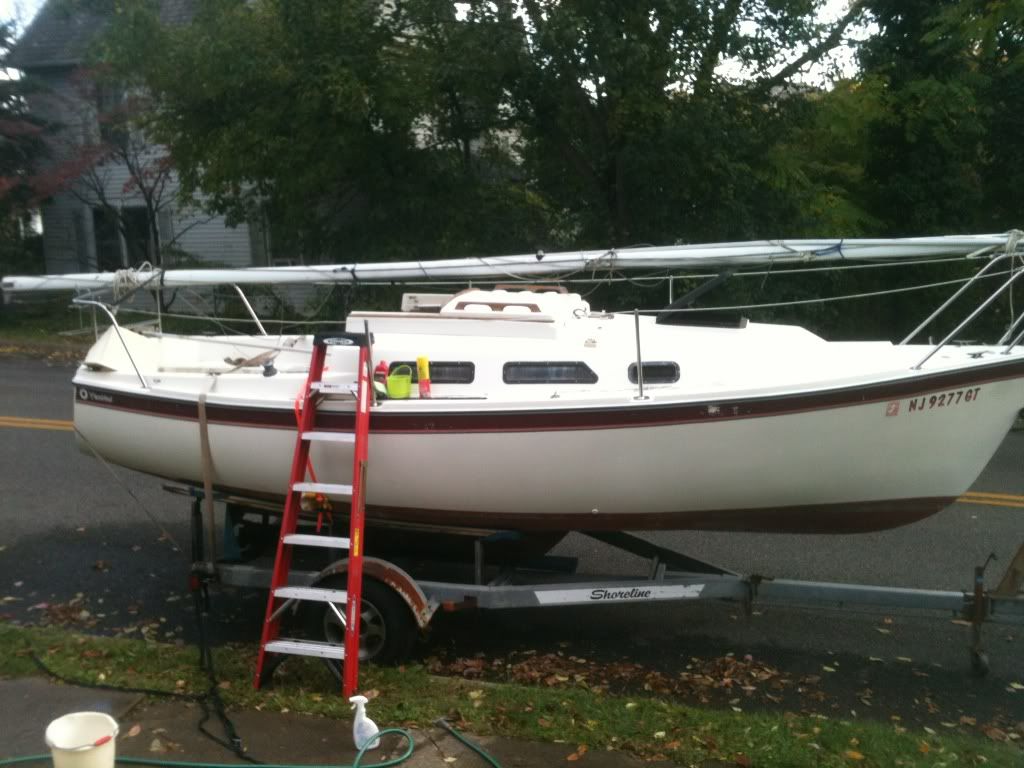
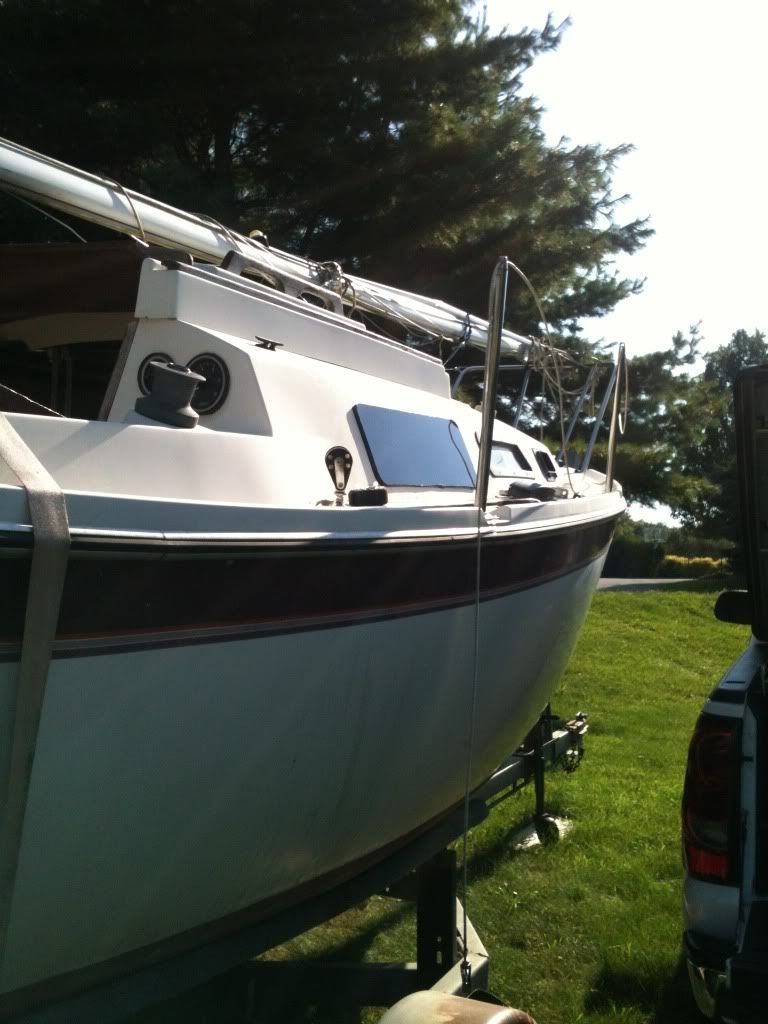
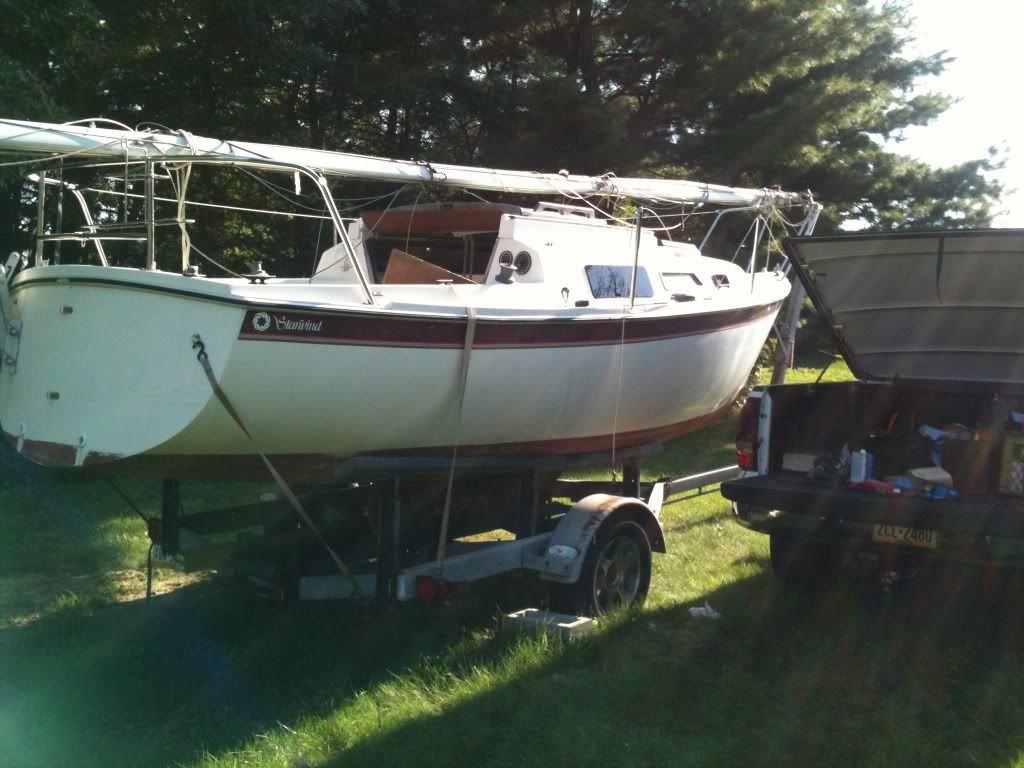
It's been a while since I updated. I have been working on the boat, but a back injury really slowed progress to a crawl for a while, plus I've been spending nice days sailing my Compac 16! I had a new set of stainless steel keel pin brackets and pin made that are currently waiting to get installed, but that's for another thread at another time...
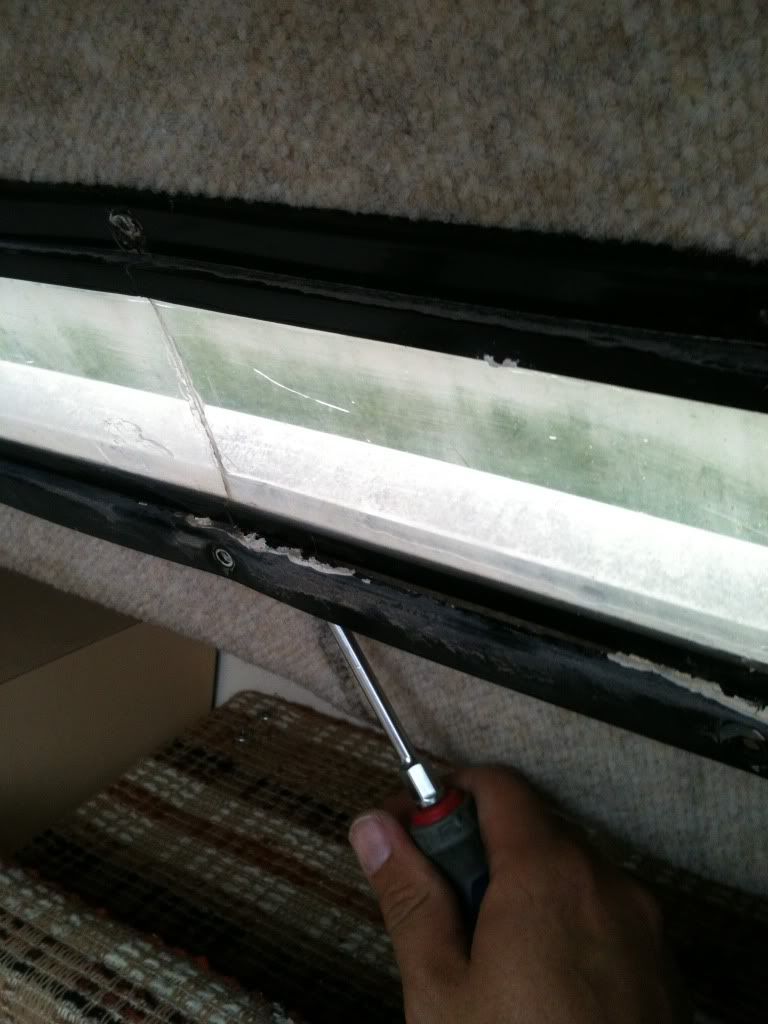
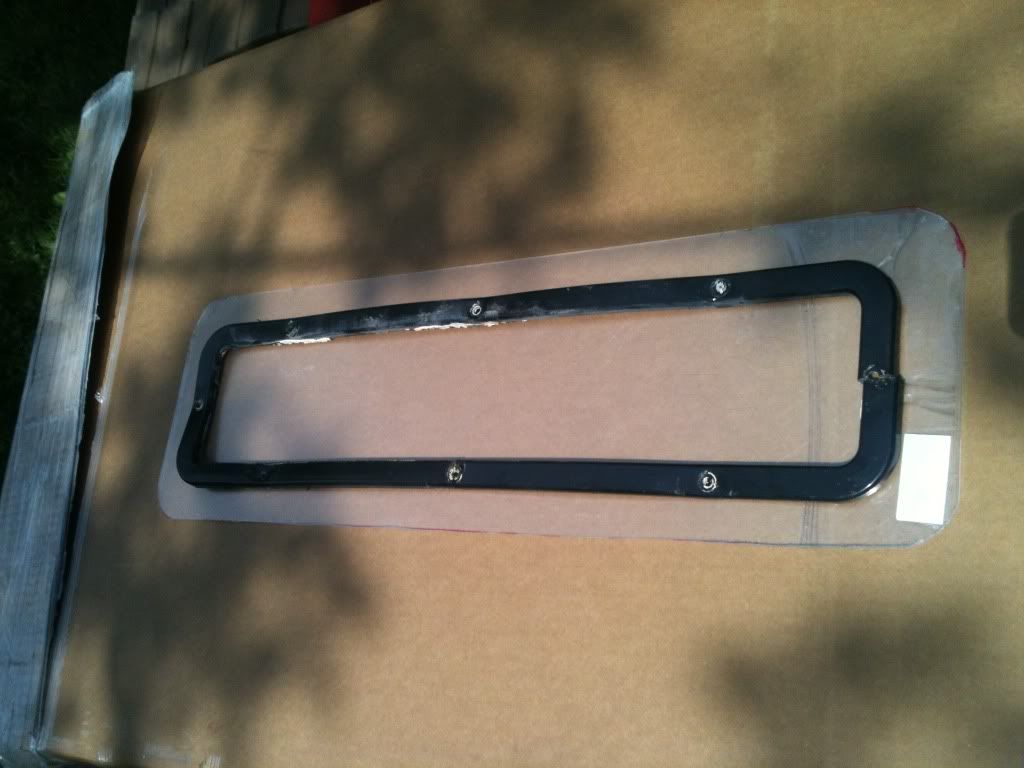
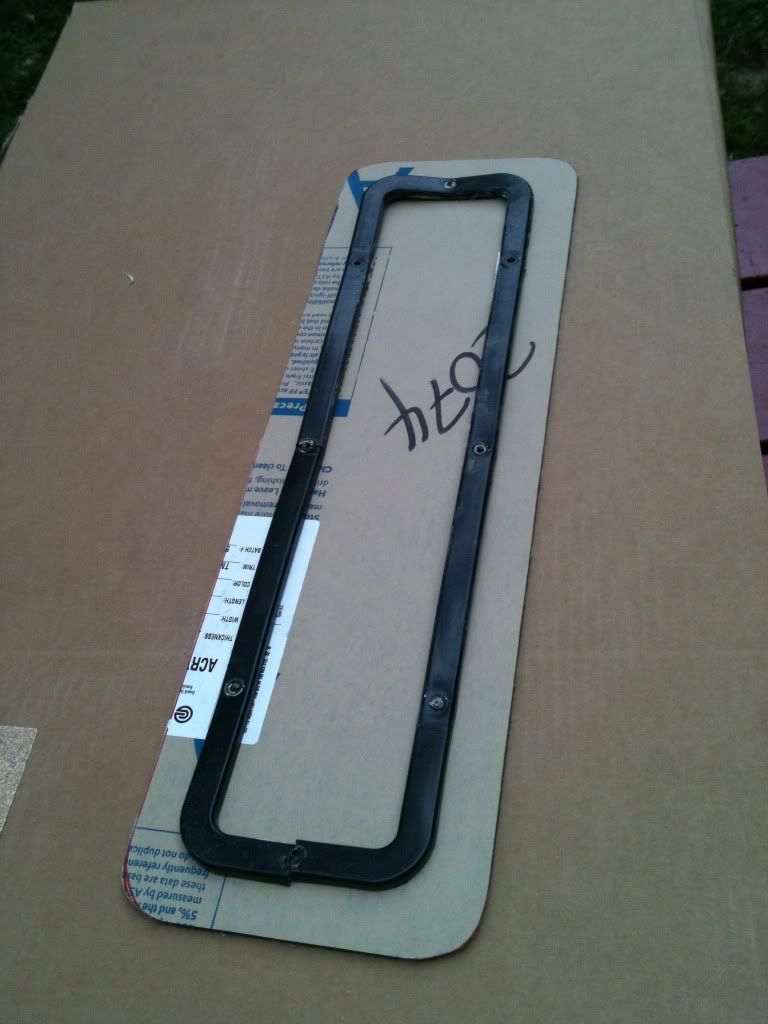
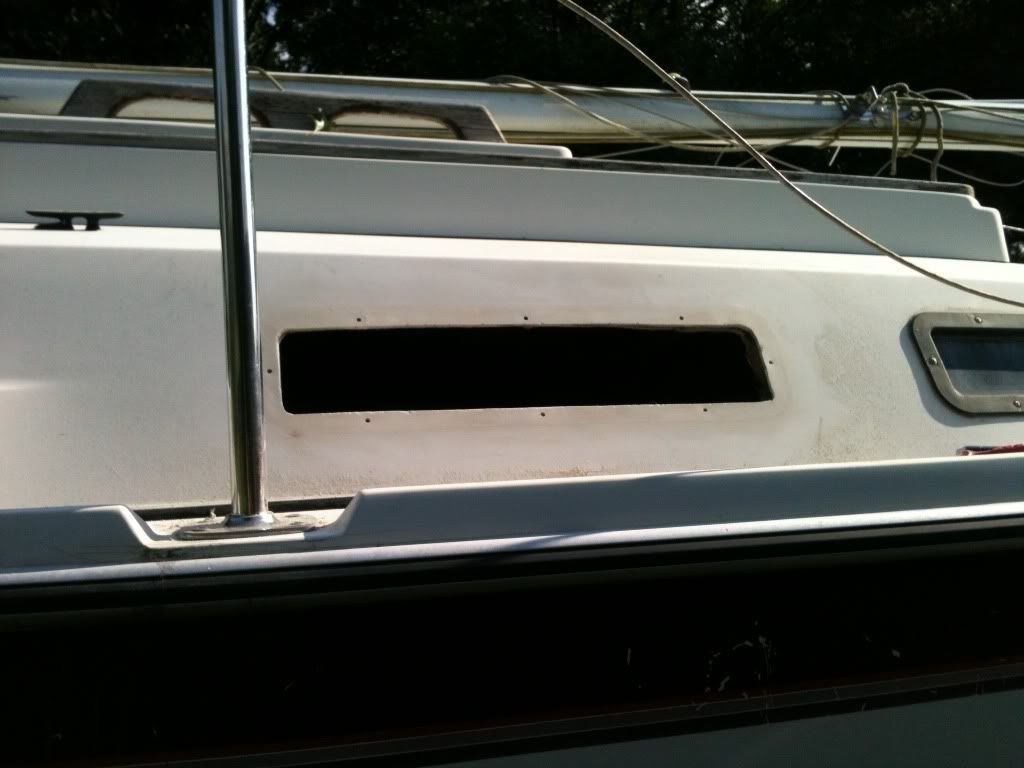
So I installed my first experimental window a few weeks ago, installation was much easier than removing the old window and prepping the opening. I fought with the old window and frames, and ended up breaking them while trying to remove them. No loss, they were shot and cracked anyway. Thankfully, I was able to remove everything without damaging the fiberglass or gelcoat! After removing everything, I wiped the opening with some acetone, then sanded the mounting surface of the deck lightly, wiped with acetone again, and let it air dry for a bit more. This left me with this:
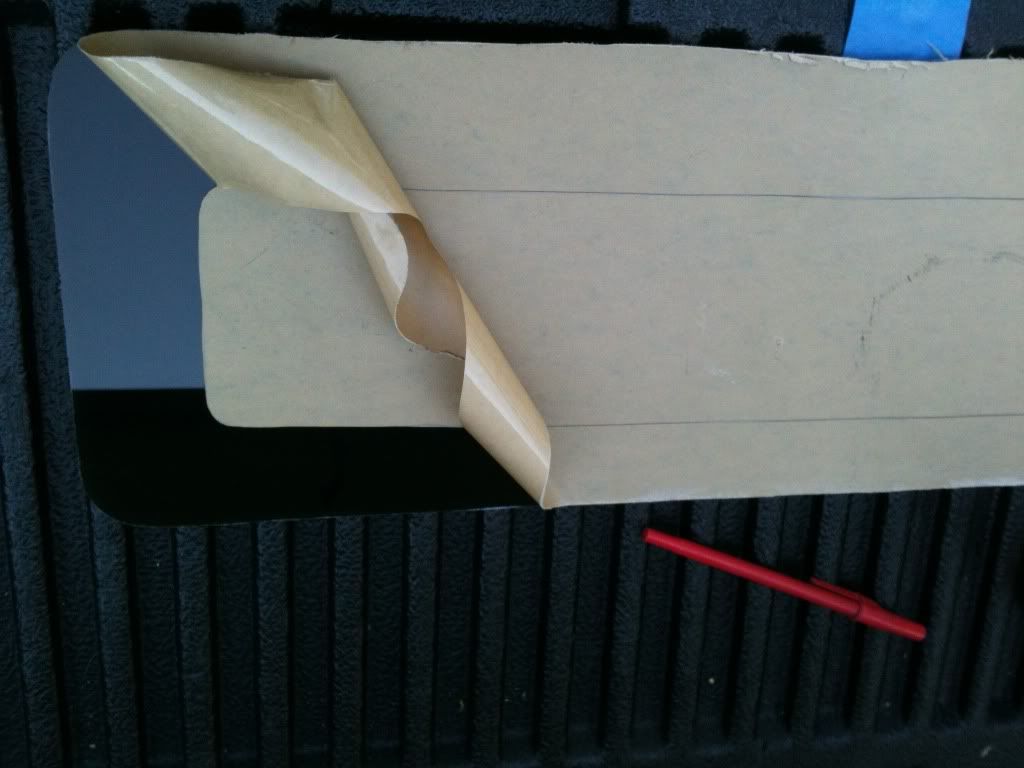
I then measured and marked exactly where I wanted the new window to mount. I taped the window in place, went inside the cabin and traced the opening on the protective film/paper covering the new window. Next, I lightly scored the paper, careful not o scratch the new window and peeled the outer ring away to allow an application of the Dow 796 adhesive to be applied to the window. I also taped off the exterior of the window openings on the exterior to help cleanup any adhesive that oozed out during the mounting process.
I carefully applied a thin layer of the Dow 795(using a plastic putty knife to smooth it out into an even coating to reduce the chance of air bubbles between the window and the fiberglass) to the new window mounting face, as well as the window opening lip on the boat. I used some screws, run in thru the existing holes in the fiberglass from the inside, to insure a depth of 1/16th of an inch when I mounted the windows. This worked perfectly. I had a nice smooth layer and was able to clean up the extra adhesive with my latex gloves. I was able to get a nice clean bead on the inside, not so nice around the exterior of the window on the outside. I need to do a better job finishing the edges of the windows, but the test window and installation went perfectly. I'm not sure how I'll get it off to make a perfect one, because it is on there like you wouldn't believe!!! I'm half afraid I'll damage the gelcoat and fiberglass when I have to remove it. I still need to do some finish work around the window, but that will come later, and I plan on painting the entire deck before we launch this coming spring. I really love the looks of the larger more modern window compared to my originals! Here's a few quick cellphone picks. So far, NO LEAKS, and I don't think leaking will be an issue for a very long time! Here's some more pics as promised:
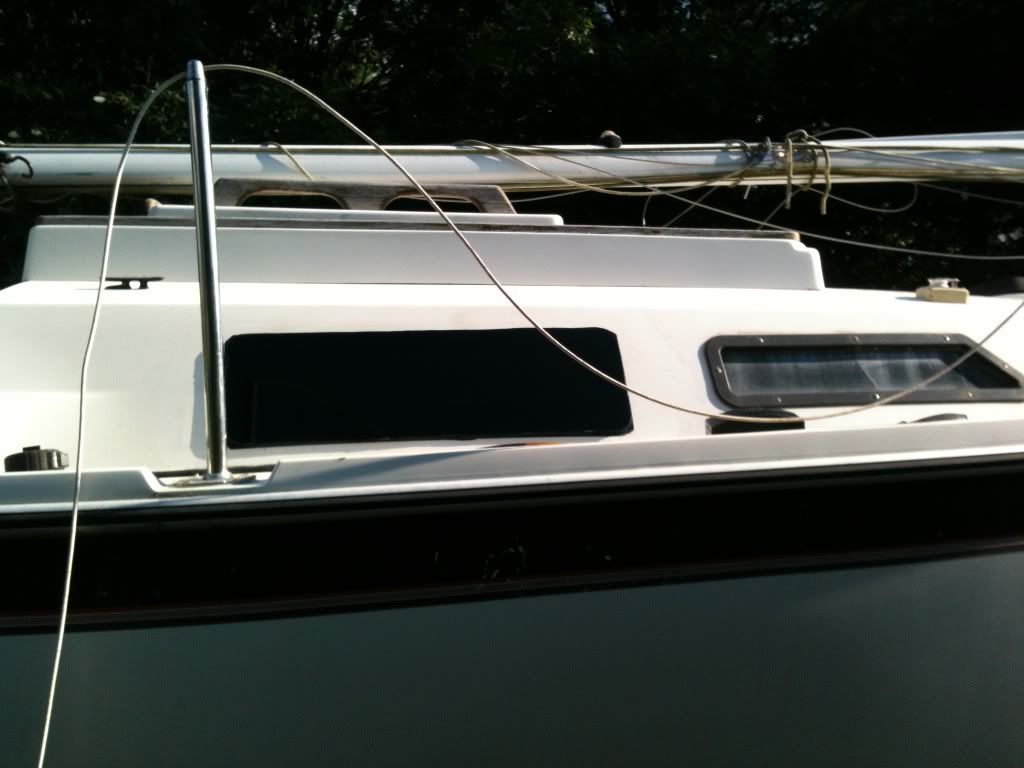
As you can see, my experimental window needs some improvement in the finishing department. I also have some excess Dow 795 that makes the window look unevenly shaped in the lousy photos I took, but you get an idea of what the finished product will be. I may tweak the window shapes a bit also, but I really like the way it's starting to turn out. I have also debated enlarging the actual window openings slightly, but I am fearful of weakening the structure if the deck. It would really open the cabin up a bit! The windows look clear from the inside, and provides almost total privacy from the exterior. I probably won't worry about having any curtains when I'm finished. After the window had been allowed to setup for a few hours, I went back inside and simply peeled the paper off the interior of the window. It made a really nice looking finished look to the bead of sealant on the interior. I will probably make some new trim pieces for the interior around the window openings. Oh, I also removed the screws before the Dow 795 had fully setup.
Things I will do differently:
1. I won't bevel my window edges, because it is too hard to get a perfect edge. I'm just going to use a straight, perpendicular cut because I think it will look perfectly fine.
2. I won't try and run a bead around the exterior of the windows again, as you can see in the pictures, even on the nice straight edges, it makes the windows look wavy...
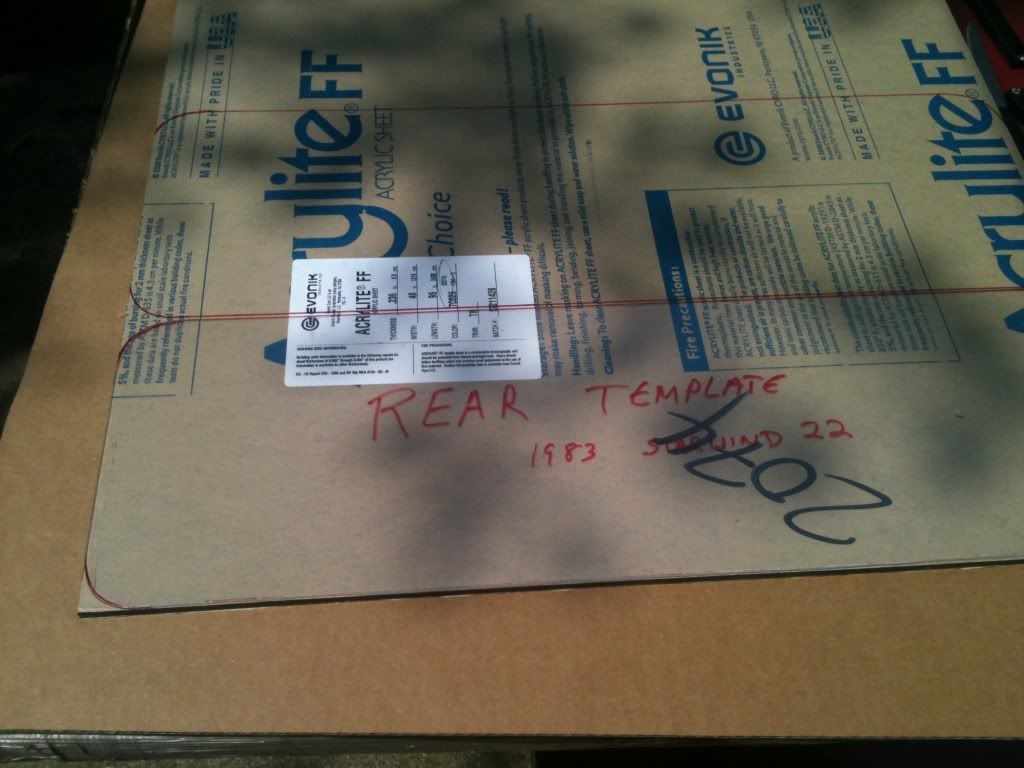
3. Cut the acrylic slightly larger than your pattern, then use an electric sander to finish the edges, you get a much nicer, professional look.
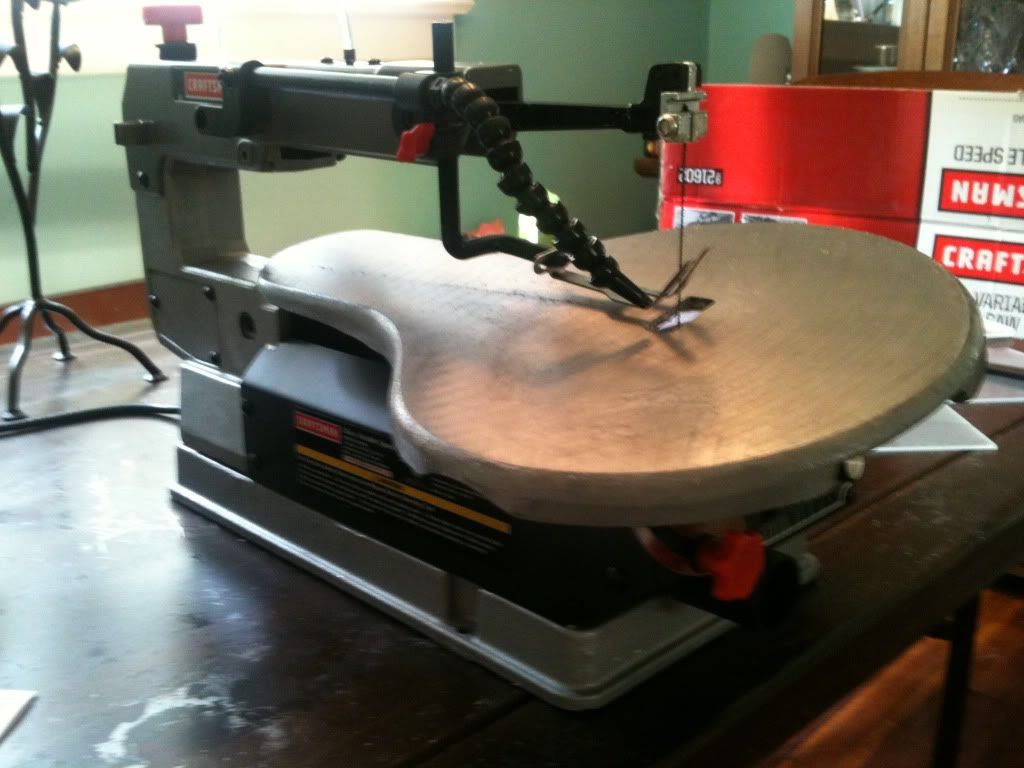
4. The scroll saw works great, but is hard to control with thicker material, the blade wants to flex and twist. Practice, practice, practice!
5. Do a better job taping off the exterior around the window, I will actually trim the tape with a razor knife after tracing the window onto the tape outline. It will save me a lot of cleanup work, and look much more professional. I'm really disappointed in how sloppy my trial window came out.